YouTube has recently rolled out a new feature to all users. The new channel elements include: channel art, a channel icon, channel description and web links. Below is a step-by-step guide to switching your channel.
Step 1:
- Go to https://www.youtube.com/onechannel and scroll to the bottom of the page where you will see a prompt to switch to the new channel design:
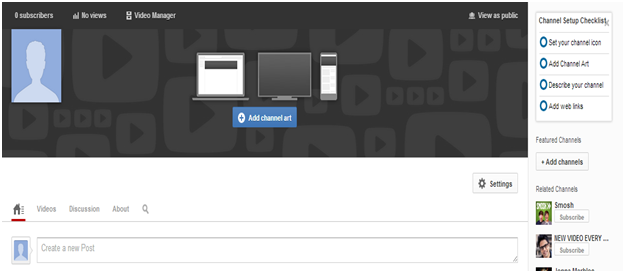
- Hit the “Get Started” button which will lead you to the new layout. It will look similar to this:
Step 2:
- Now that you have switched to the new layout, you can add your “Channel Art.” The recommended size for the new header is 2120 x 1192 px. Click the blue button that says “Add Channel Art:”
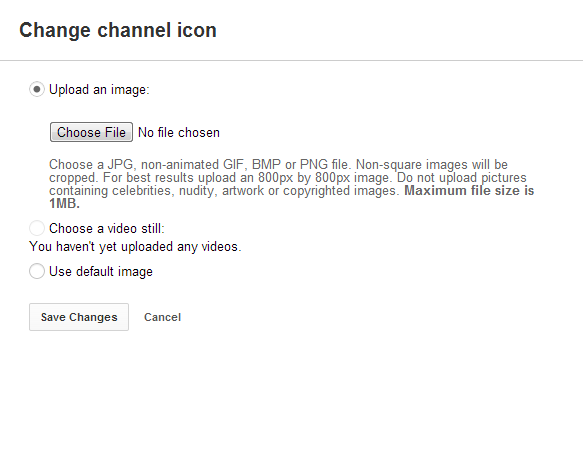
- Once your Channel Art is uploaded, you can add your “Channel Icon.” This will represent your channel in comments, related channels and elsewhere across YouTube.
- Click on the channel icon and change the image. The recommended size is 800px by 800px and the maximum file size is 1MB:
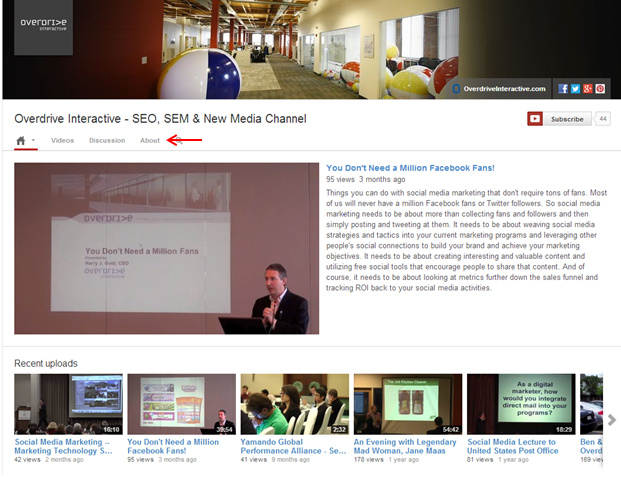
- Once you have changed your “Channel Art” and “Channel Icon,” you can add a “Channel Description.” This tells viewers what your channel is all about and shows up across YouTube. Click the About tab to add the description:
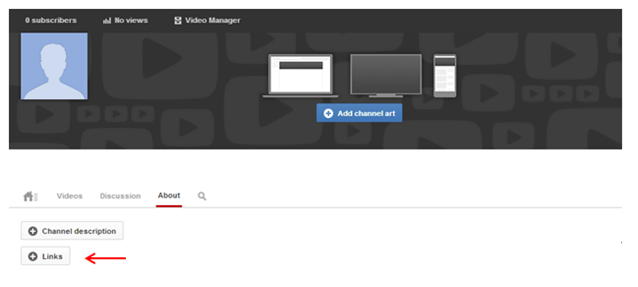
- Once you click on the tab, you will be in the About section of your channel. Click on the “Add Channel Description” button:
Step 4:
- Now that you have added your channel description, you can add web links. These let viewers know where else to find you on the web. You can add the web links in the “About Tab,” which is the same place you changed the description:
Step 5:
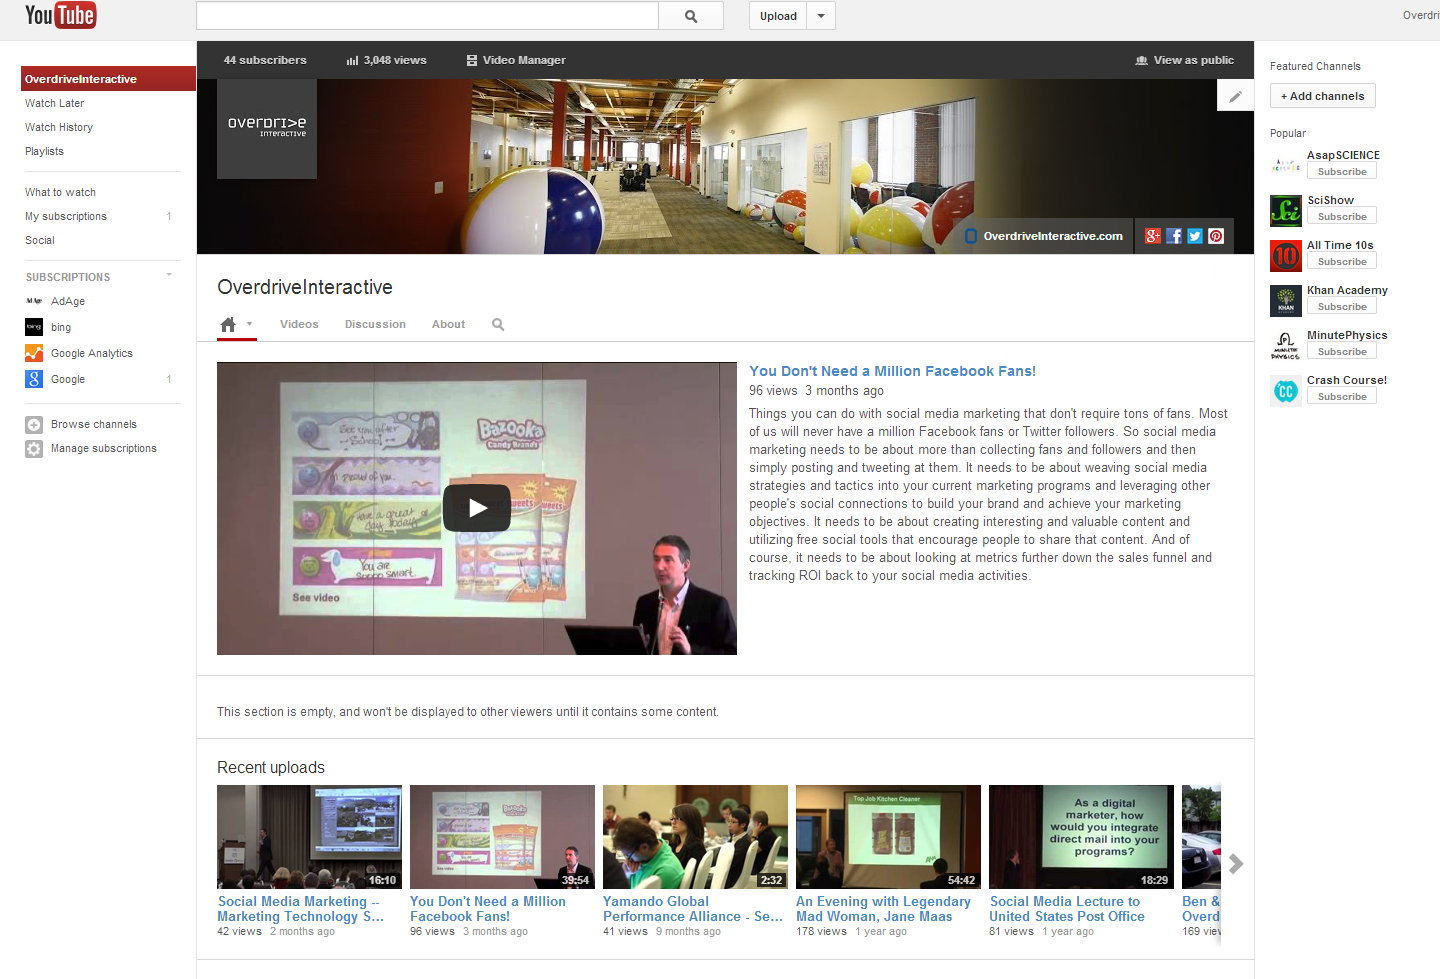
- View your channel to make sure the layout looks good and that the links work properly. Here is an example of Overdrive’s finished YouTube One Channel:
Now that your YouTube One Channel is set up, you are ready to go! What do you think of this new One Channel design? Please let us know if you have any questions about it; we’d be delighted to help.


